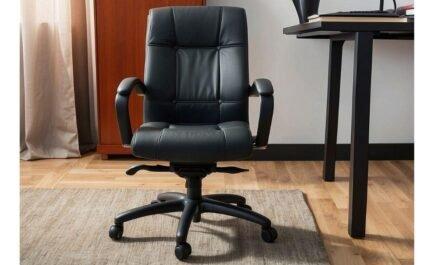
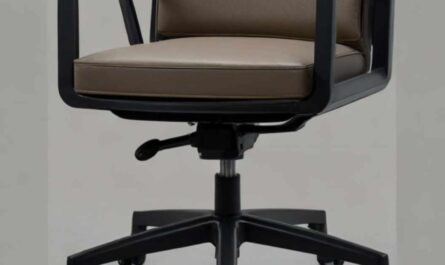
Office chairs are essential for any workspace and are needed in every office. So If you have purchased an office chair recently and don’t know how to assemble it properly, don’t worry we will explain in this article in detail.

However, there are different types of office chairs such as task, executive, mesh, or ergonomic office chairs and each one has its different materials and mechanisms. But don’t worry! No matter what type of office chair you have, You can assemble an office chair easily through this guide. Maybe some parts are slightly different, but the fundamental steps remain the same.
Step-by-Step Guide to Assemble an Office Chair
You can assemble your chair easily by using a 12 mm open-end wrench, screwdriver, and some other tools, by following these steps:
- Lay out all the parts on a clean and flat surface so you can see everything.
- Read the labels on each part to understand their purpose and place in the assembly.
- Attach the wheels to the base of the chair using screws provided.
- Place the gas cylinder onto the base, making sure it is aligned correctly.
- Attach the seat to the gas cylinder by inserting and tightening the screws provided.
- Next, attach the backrest to the seat using screws or bolts provided.
- Adjust the height of the chair by pulling out or pushing in on the lever located under the seat.
- Attach the armrests to the seat using the screws provided.
- Lastly, attach any additional features such as a headrest or lumbar support according to the instructions provided.
Once you have understood the process of how you have to assemble your chair, Now we are going to explain these steps in detail so you can complete it without any confusion.
Necessary Tools for Assembly
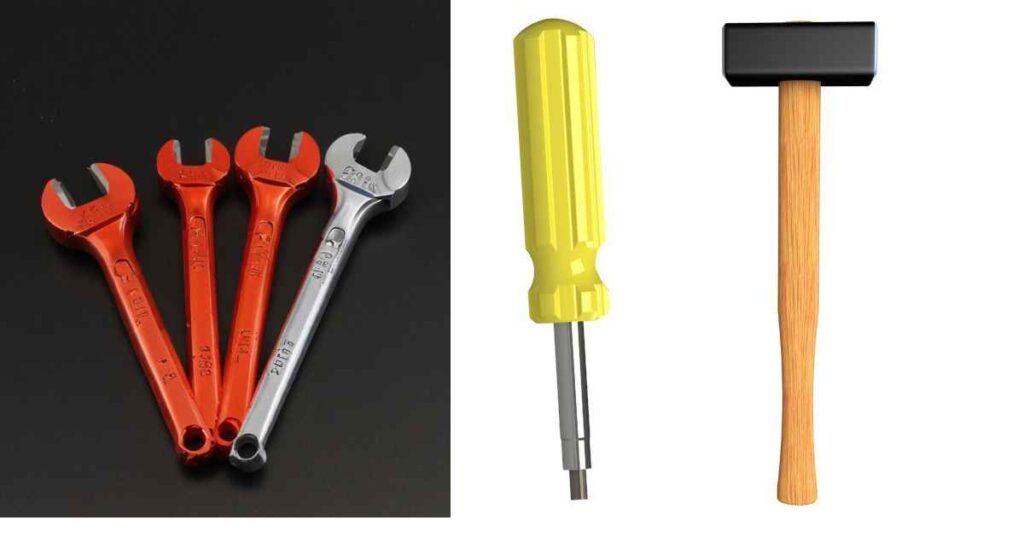
You will need a few basic tools such as:
- 12 mm open-end wrench: For tightening screws and bolts.
- Screwdriver: For attaching screws to the chair.
- Allen wrench: For attaching any parts that require an Allen key.
- Rubber mallet or a hammer (optional): For placing the wheels onto the base of the chair.
Maybe you will need any of the other tools like a plier, depending on your chair type. Check the instruction manual provided with your chair to see if any additional tools are needed.
Prepare the Workplace
Before starting the process, it is important to prepare your workplace. Find a clean, flat surface where you can lay out all the parts of the chair and have enough space to work comfortably. Make sure also to have all the necessary tools nearby, so these can be easily accessible.
Note: Also, read the assembly instructions provided by the manufacturer to familiarize yourself with the process before starting.
Explanation of Office Chair Assembly Process
Step 1: Assemble the Wheels to the Chair Base

Once you have gathered the tools and all the parts are laid out, now the first step is to attach your newly cleaned wheels to the base of your chair. The casters easily snap into place on the base and make sure they are securely fitted. If necessary, then you can use a rubber mallet or hammer to tap them in.
Step 2: Attach the Gas Cylinder
Next, pick the gas cylinder and insert it into the hole on the bottom of your chair base. Make sure it fits snugly and is aligned properly.
Step 3: Attach Seat to Gas Cylinder
Take your seat and place it on top of the gas cylinder, making sure it is aligned correctly. Then insert the screws into the holes and tighten them with the provided 12 mm open-end wrench or you can also use a screwdriver.
Step 4: Attach the Backrest to the Seat
This step is a little bit complicated, so it is important to follow the instructions carefully:
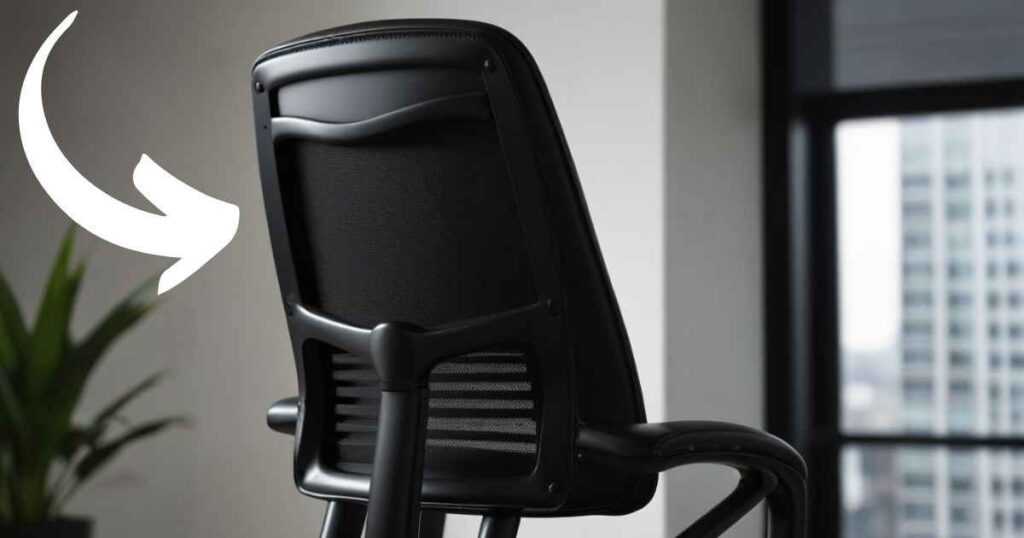
- Identify the Backrest and Seat Connection Points: Locate the points on both the backrest and the seat where they will be connected. These points are typically pre-drilled holes or brackets designed to align with each other.
- Align the Backrest and Seat: Once you have identified the connection points, carefully align them with each other.
- Insert Screws or Bolts: It depends on your chair model, if you have a task chair then you will use screws, or if you have an executive chair then it may require bolts. So, insert the screws or bolts into the holes and tighten them with a screwdriver or an Allen wrench.
- Secure the Backrest to the Seat: Once all the screws or bolts are tightened, make sure that you have done this fully securely. Lastly, you can gently test the backrest by applying pressure to see if it is properly attached.
Step 5: Adjust the Height of the Chair
Next, adjust the height of your chair, first see the lever located under the seat and pull it out, and then adjust it according to your preference. Once you achieved your desired height, release the lever to lock it in place. And make sure it is securely locked.
Step 6: Attach the Armrests(If Applicable)
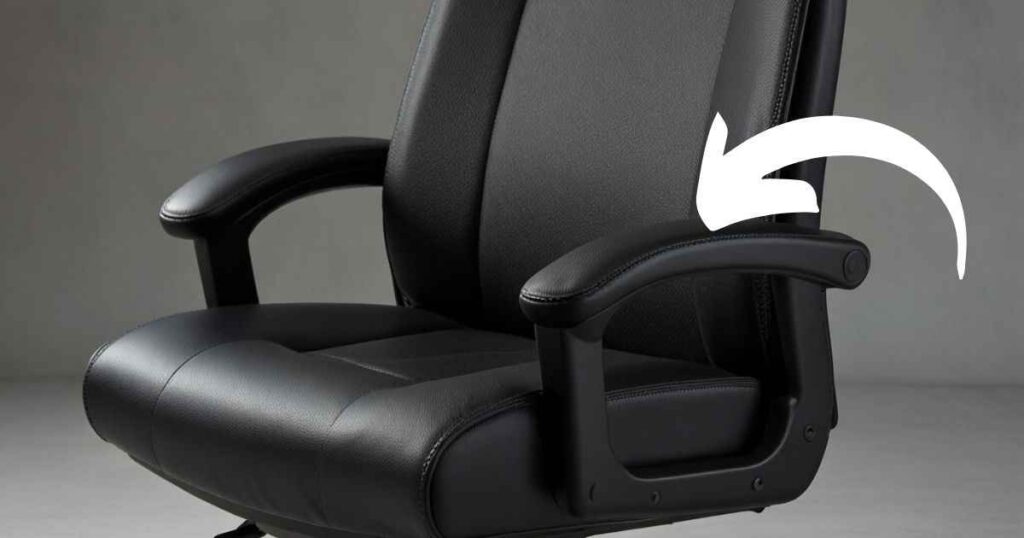
Some office chairs come with armrests that need to be attached separately (Most are attached to the seat). So, if your chair also has armrests, then follow these steps:
- Identify the Armrest Placement Points: Locate the specific points on the seat where the armrests will be attached, they will be pre-drilled holes or brackets. These points are usually pre-drilled holes or brackets.
- Align the Armrests with the Placement Points: Carefully position each armrest against the seat, ensuring that the holes on the armrests align with those on the seat.
- Insert and Tighten Screws: Use the screws provided in the assembly kit to attach the armrests to the seat. Insert the screws into the aligned holes and tighten them with a screwdriver or Allen wrench. Ensure that the screws are secured tightly, but be cautious not to overtighten them, which could strip the screws or damage the chair.
- Check Stability: Once both armrests are attached, apply gentle pressure through your arms to ensure they are securely attached and do not wobble. If they do, check and see if all screws are tightened properly.
Step 7: Final Check and Adjustments
After you have completed each step, a final inspection is necessary. Now sit on the chair and test all the functions like swiveling, adjustments of armrests, and especially height adjustment of the chair to ensure everything is working properly. If anything feels loose or unstable, check all screws and bolts to make sure they are tight. Now you can use your newly assembled office chair.
Related: Disassemble Office Chair
How to Maintain an Office Chair- Tips and Routine
Once you have purchased and assembled, it is important to use it in the right way and take proper care to ensure it will be usable for long periods. Here are some tips and routines we have listed:

- Regular Cleaning: As time passes with regular use Dust and dirt can accumulate on your chair, which makes it look dull and unhygienic, so it is important to clean regularly. However, you can read our article on office chair cleaning. But for a basic and daily routine, clean your chair with a damp cloth and mild soap and water solution.
- Lubricate Moving Parts: To ensure the smooth functioning of the moving parts, lubricating is important, and it also prevents rusting. So, use a lubricant like WD-40 or silicone-based spray and apply it to the moving parts once a month.
- Check Screws And Bolts Regularly: With regular use of your chair, screws, and bolts can loosen up; hence you must check them regularly and tighten them with a screwdriver or Allen wrench if necessary.
- Avoid Excessive Weight: Most chairs have a weight limit, which is determined by their design and material. So, make sure you don’t exceed the weight limit as it can damage the chair’s structure and decrease its lifespan.
- Store in a Safe Place: Whenever your chair is not in use, make sure to store it in a safe place away from direct sunlight and moisture. This will prevent any fading or potential damage to the chair.
- Replace Damaged Parts: If any part of your chair is damaged, such as a wheel armrest, or gas lift cylinder, it is important to replace them immediately to prevent further damage or safety hazards.
FAQs
Are Office Chairs Hard to Assemble?
Office chairs are generally not difficult to assemble, especially when you follow the provided instructions carefully. Most office chairs come with a detailed instruction manual and necessary tools included in the package. However, some chairs may require an extra pair of hands or time to assemble properly.
What are some safety precautions when assembling a chair?
When assembling an office chair, it is important to take the following safety precautions:
- Wear protective gear: It is recommended to wear gloves and safety glasses when handling tools or any sharp parts of the chair.
- Read the instructions carefully: Make sure to thoroughly read and understand the instruction manual before starting the assembly process. This will help prevent mistakes and potential accidents.
- Use the correct tools: Only use the tools provided or recommended in the manual. Using improper tools can damage your new chair.
What Should I Do If My Office Chair Squeaks?
Office chair squeaking is a common problem that can be caused by various factors, such as loose screws or worn-out parts. You can fix office chair squeaks easily by tightening any loose screws or bolts and replacing the damaged parts like gas cylinders, and other broken components.
Conclusion
In conclusion, the office chair assembly process is straightforward when you follow the proper guidelines and take the necessary precautions. Remember to always read the instructions carefully, use the correct tools, and ask for help if needed. With proper assembly and maintenance, your office chair will provide comfort and support for many years to come.

