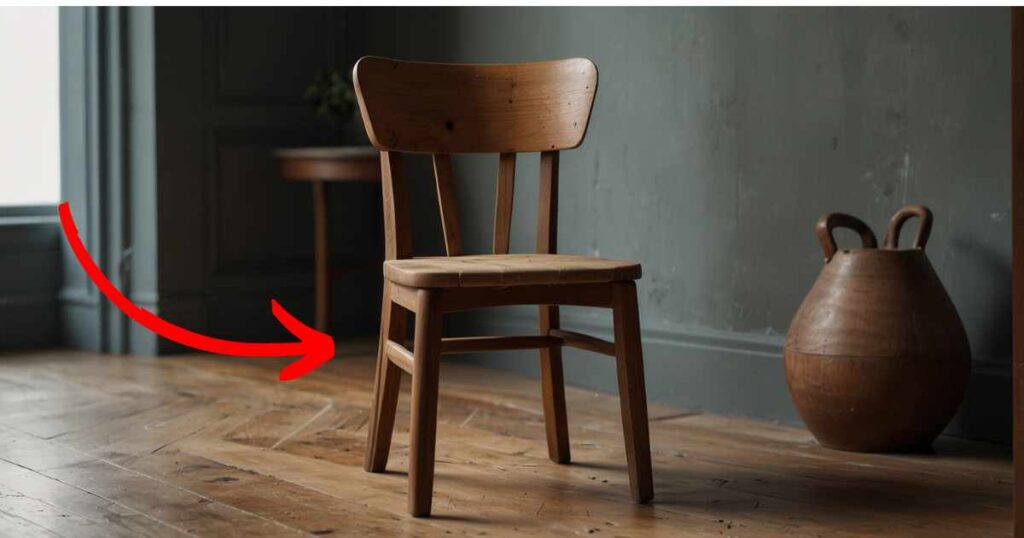
Nowadays, Wooden chairs are not just furniture they are needed in most homes as they provide comfort and add aesthetics to our homes. However, over time wooden chairs can wear down and become damaged, especially the legs which bear most of the weight. Well, this is a common problem that most of us face. If you are also facing the same problem, In this article, we will guide you on how to fix broken wooden chair legs properly yourself and make your chair new.
However, If you are thinking of hiring a professional, it can cost you a lot of money. On the other hand, Inspect the chair for damages, if you see there is not much harm and you can repair it, then DIY chair repair can be a great option for you. So Let’s start the process!
Understanding Different Chair Designs and Leg Types
Various Wooden chairs designs come in various designs, each with their unique type of legs. Some chairs have straight legs, while others may have curved or turned legs. It is essential to understand the type of chair you have and its leg design so you can accurately assess the damage and repair it correctly. So first of all inspect your chair and check what type you have.
How to Check What type of Chair you have?
- Look at the shape and style of the chair – Is it a traditional, modern, or antique design?
- Look at the legs they are straight, curved, or turned?
- Check for any specific features on the legs such as carving or decorative details.
- Also, you can search for your chair online.
What You Will Need?
After understanding the type of chair you have, now you need some necessary materials for chair repairs and some essential tools that will make your work fast. So make sure to gather these tools before starting the process.
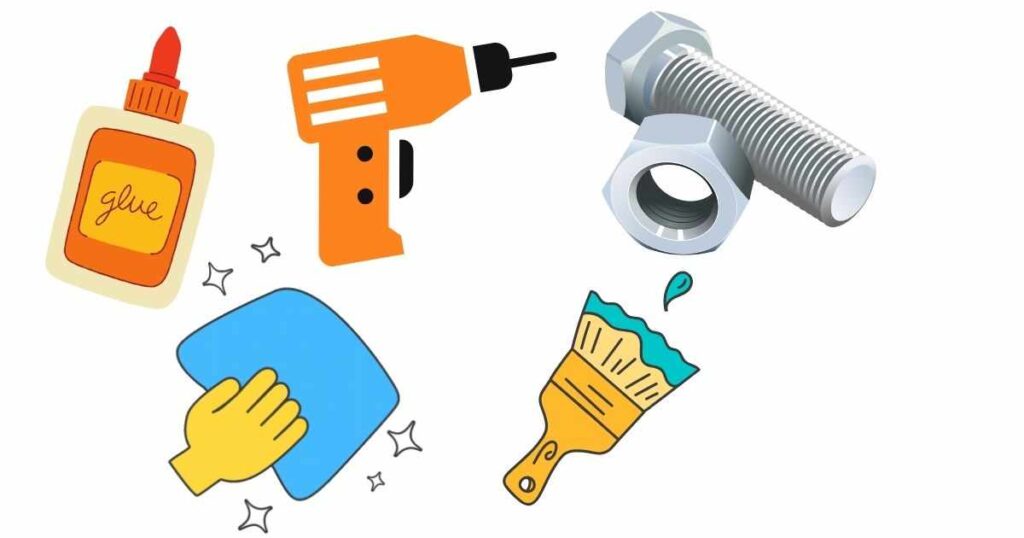
- Wood glue
- Clamps
- Sandpaper (various grits)
- Drill and drill bits
- Screws (appropriate size for the chair leg)
- Paint or sealant (optional for finishing)
- Clean cloth
- Wood filler (if needed)
- Safety glasses
How to Fix Broken Wooden Chair Legs?
Fixing damaged broken wooden chair legs is not as complicated as it may seem, you can repair it with glue and some required tools. You just need to follow these steps one by one we will guide you in-depth:
- Assess your chair’s Damage and Prepare
- Clean and Prep the Broken Area using Sandpaper
- Apply Wood Glue along the Broken Edges
- Clamp and Secure the Legs
- Ensure Stability by Drilling and Inserting Screws
- Gave Finishing Touches by Sanding and Painting
Step 1. Assess your chair Damage and Prepare
Start by placing your chair in a well-lit area where you can see the extent of the damage. Inspect all the surrounding areas of your chair and see if there is any additional damage. Also Look for cracks, splinters, or other signs of wear and tear, and note these so you can easily address them later.
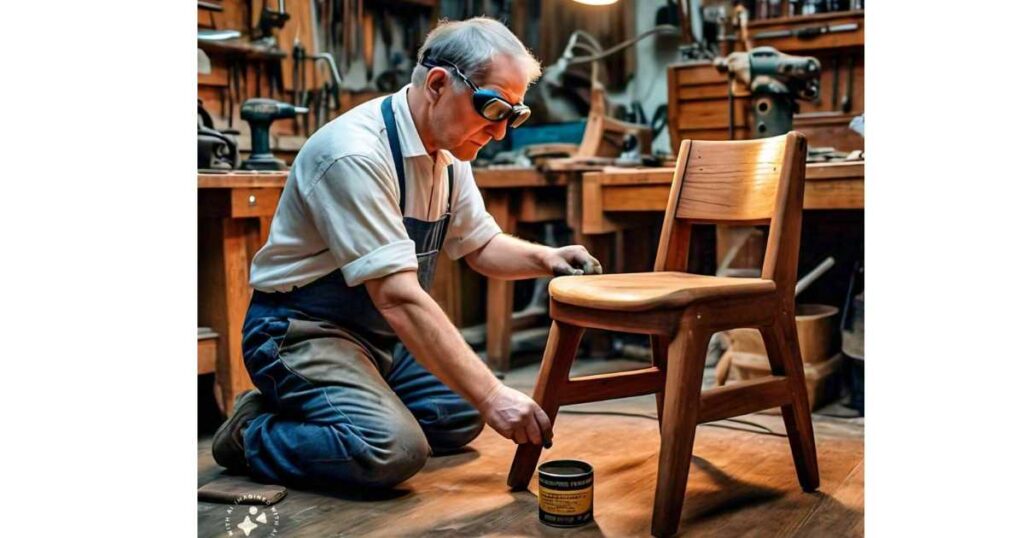
Next, gather all the necessary materials and tools mentioned above. Make sure to have a clean and clutter-free workspace to work comfortably. Also, you should wear safety glasses to avoid any accidents, If you don’t have these safety glasses then you can use sunglasses or any other protective eyewear.
Step 2. Cleaning and Prepping the Broken Area
To make a strong bond between the broken pieces of the chair, cleaning and prepping is the necessary part, as they will remove any dirt, debris, or old glue residues that may hinder the adhesion process. First, use sandpaper to sand both broken edges of the chair leg gently. This will create a rough surface for the glue to adhere to. Then, clean the area with a clean cloth and let it dry completely for about 10-15 minutes.
Step 3. Apply Wood Glue
Now the next step is applying wood glue along the broken edges of the chair leg. One of the questions is:
What is the best glue for broken chair legs?

The best glue for fixing broken chair legs is wood glue specifically designed for woodworking. There are some popular like PVA (Polyvinyl Acetate), epoxy, or polyurethane-based glues, these are highly recommended due to their strong bond and durability after drying.
However, it is always best to check the label and instructions before using any type of glue. And you can check reviews if you are buying from any online store. So you can choose any of the ones you want, but make sure it is high quality and can make a strong bond.
How to Apply Wood Glue?
First read the label of the wood glue so that you can know how long it takes to dry, and also read the instructions on how to apply it properly.
Then, spread a generous amount of wood glue onto one of the broken edges using a clean brush so you can use your finger for smooth application. Make sure, you have to use enough glue to create a strong bond (it depends on the damage size) but not too much so that it overflows. Carefully align the broken pieces and press them together firmly for about 1-2 minutes. Make sure the pieces are aligned correctly, or else it can cause uneven legs.
Step 4. Clamping and Securing the Legs
Once you have pressed the broken pieces together, you need to use clamps to secure and hold them in place while the glue dries, so they do not shift or move. Use as many clamps as needed to ensure a tight and secure hold. If you don’t have clamps, make sure to apply constant pressure on the glued area using your hand for at least 30 minutes and above.
Step 5. Drilling and Inserting Screws
After the glue has fully dried, select screws that are long enough to secure the broken pieces together without protruding out of the other side. Typically, screws that are 1 to 1.5 inches longer than the width of the chair leg should suffice. Carefully mark the points on the chair leg where you plan to drill. Make sure these should be evenly spaced and centered to distribute the load evenly.
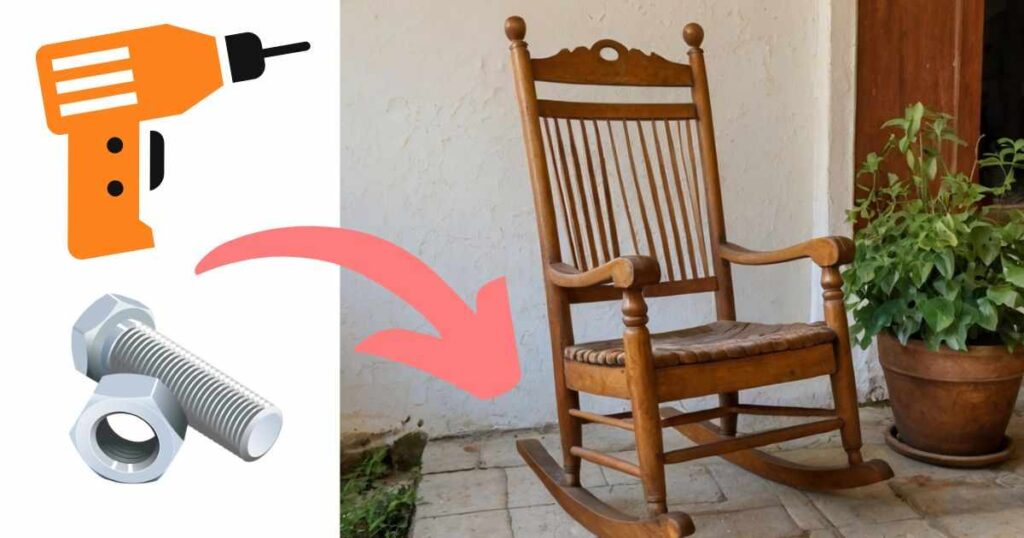
Then, using a drill and the appropriate size drill bit, make holes at each marked point. And insert the screws into the drilled holes and tighten them until they are secure. Be careful not to over-tighten, as this could strip the hole or damage the wood further.
Once all screws are in place, you can test gently, while testing the leg should feel solid and secure with no movement at the site of the repair. But If you feel any movement, it is recommended to use more screws to further secure the leg.
Step 6. Finishing Touches by Sanding and Painting
After the repair is complete and all the glue and wood filler have dried, now you can add paint or sealant to the repaired area, well this is an optional step, but it will give a finished look and also protect the wood from damage. Follow these steps:
- Sand the entire leg to smoothen the surface and remove any rough edges or excess glue through different grits of sandpaper.
- Clean the leg with a clean cloth so the dust is removed.
- Apply a coat of paint or sealant, and make sure to follow the instructions on the product.
- After the first coat dries, you can apply another one for a more polished look.
Lastly, inspect your repaired chair legs to ensure you have fixed the problem correctly, and if you are satisfied with the results then your chair is ready to use again. However you have properly learned and applied the above method and fixed your broken chair legs, it is important to regularly check and maintain your chair.
However, If your chair has another problem, you can read our article, Wooden Chair Joints Repair.
Tips to Maintain your Your Newly Repaired Chair
- Inspect the chair for any signs of wear or further damage, at least once every month.
- Do not overload the chair beyond its capacity as these chairs can only a certain amount of weight. Excessive weight can stress the repaired leg and it can be the cause of future damage again.
- Use the chair for its intended purpose only. Avoid standing on it or using it as a step ladder, as this could compromise the structure.
- Always keep the chair in a stable, dry environment to avoid excess moisture and prevent the wood from swelling or warping.
- Inspect your chair from time to time, and If you find any loose screws, tighten them immediately through any of the steps mentioned above.
- Also, make sure to regularly clean and polish your chair so it will be usable for a long period.
FAQs:
How long should I wait before using the chair after repairing it?
It is best to wait at least 24 hours before using the chair after repairing it. At this time, your applied wood glue will properly dry. Some glues might have specific curing times, so, you should also read the care instructions of your wood glue before using the chair.
Can I repair a chair leg without using clamps?
Yes, you can repair a chair leg without using clamps by applying steady pressure to the glued area for an extended period. However, we would recommend you use clamps as they provide a stronger, more secure bond by holding the pieces together tightly as the glue dries. If you don’t have clamps, you can use heavy objects to apply constant pressure or wrap the area tightly with string or rubber bands.
Can I use regular super glue for repairing chair legs?
No, regular super glue is not recommended for repairing wooden chair legs. It does not have a strong bond and can easily break under pressure. Also, it dries too quickly which can make it hard to align the broken pieces.
In Conclusion
Repairing broken chair legs is a simple and easy DIY process that you can do with glue and some necessary tools. By following the above-mentioned steps and tips, you can make your damaged chair look as good as new. Remember to properly clean and maintain your chair regularly as we have mentioned the routine, to prevent any future damage.