Disassembling an office chair may be a difficult task, for a person who doesn’t have the correct knowledge or guide. Chairs are a popular addition in offices, while cleaning the office, shifting with your chair, or if you want to remodel your workspace or whatever reason, we need to disassemble our chairs, from time to time.
So In this comprehensive guide, we will walk you through the step-by-step procedure with clarity, so you may comfortably and properly disassemble your office chair.

Understanding different type of chairs and their Disassembling guide
There are different types of office chairs and each type has its specialties you must understand the different office chair models and their components. Some of the common are executive chairs, ergonomic chairs, and mesh chairs.
You can know very well through this guide how to take apart your office chair. However, your chair may have variations in specific components or mechanisms based on their design, So it is also necessary to check the components and read the care tag of your chair.
Caring Instruction while Disassembling Your Office Chair
Before Starting the process, you should know some care instructions that are provided by the manufacturer and are very important while disassembling your chair:
- Read the Care Tag which provides important information about how to care for and maintain your office chair. You will know, which required materials, you have to use.
- Find a spacious and well-lit area where you can work comfortably and make sure you have enough room to maneuver around the chair and lay out its components as you disassemble it.
- Having a plastic bags where you can store small parts like screws, bolts, and washers.
- While disassembling the chair, inspect each component for signs of wear or damage.
- Check carefully all the cracks, breaks, or any other issues that may need repair or replacement so you can reassemble it without any problem
Required Tools to Disassemble Your Chair
In this process, you will need some required tools, that will help you to easily disassemble it without any harm.
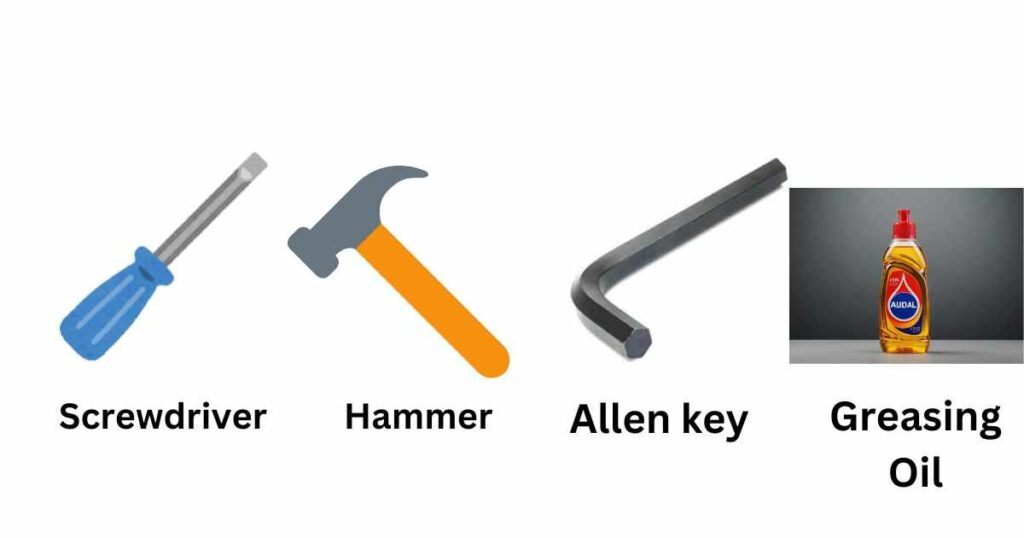
- Screwdriver (Phillips and flat head)
- Allen key or hex wrench.
- Hammer (optional)
- Oil (optional)
How do you Disassemble an office chair? Step-by-Step Guide
1. Preparation
- First, you need to bring your chair to the spacious area where you can easily do this process. And collect the container, like containers or plastic bags, so you can store small parts like screws and bolts.
- Turn your chair upside down to access the underside. You will see some screws or bolts that are used for securing your chair. Remove these fasteners by using a screwdriver or Allen key and If there is a small tag or bracket securing the seat, remove it as well.
- Your chair may have a separate backrest, locate the screws or bolts attaching it to the seat. Use the appropriate tool to remove these fasteners, then carefully lift off the backrest from the seat. In some models, the backrest may be attached to the seat with a clip or bracket, you can remove it with a tool.
2. Remove the Arm
- Most office chairs have a feature, Through which you can remove the arm set easily (but not for all). If your chair doesn’t have this feature then locate the screws or bolts that secure the armrest to the seat or backrest.
- Use a screwdriver or Allen key to loosen and remove these fasteners. Once you have undone it, carefully lift the armrest away from the chair. In this way, you can easily detach the armrests from your office chair.
3. Remove the Wheel from the Ground

Removing the Seat Base Legs
- First, flip the chair over to access the underside. Locate the screws or bolts securing the legs to the seat base. If these fasteners are removable, then use a screwdriver or Allen key to unscrew them. However, if they are fixed in place, gently tap them with a crowbar or hammer to loosen them. Once the fasteners are loose, you can carefully remove them from their holders.
Detaching the Headrest and Gas Springs
- After removing the seat base legs, look for screws or bolts that are linking the headrest to the seat and unscrew them. Lift the headrest away from the seat once these fasteners are removed. Additionally, if your chair has gas springs attached to the headrest, release them by applying force to separate them from the seat mechanism.
After Detaching the Headrest and Gas Springs, now we have to adjust the components.
4. Adjusting Chair Components
First, look at the setup of certain features in your chair, like its height adjustment or tilt mechanism, which might differ based on the chair model. To understand how to adjust or remove these features, read the manual or the instructions provided by the manufacturer.
Typically, you can make adjustments or remove these parts using a screwdriver or an Allen screwdriver. This ensures perform maintenance tasks as needed, enhancing your overall comfort and experience with the chair.
5. Cleaning the Disassembled Office Chair
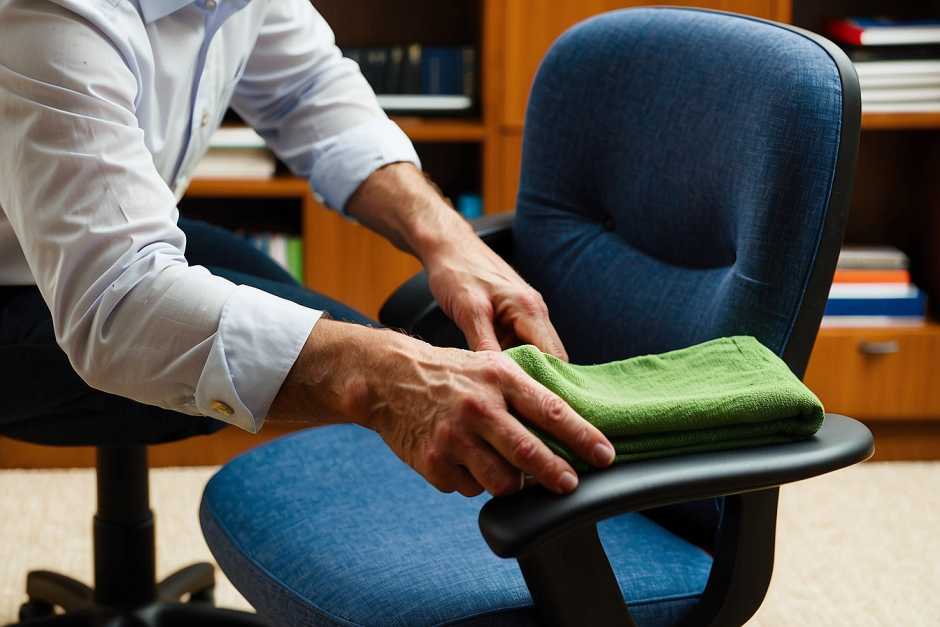
Once your chair is fully disassembled, then it’s crucial to make each part clean of your office chair so you can reassemble it. Follow these steps:
- Collect and Clean all the Pieces: When you have completed the whole process, Now collect all the pieces in the specific area and Use a damp clean cloth to wipe each piece down off your chair.
- Using Greasing Oil: Apply greasing oil to ensure everything works smoothly. This helps prevent squeaking sounds and keeps the chair moving easily.
- Inspecting for Wear or Damage: Take a close look at each part. Check for any signs of damage or wear, like cracks or loose screws. If you find any problems, fix them before putting the chair back together.
- Ensuring Correct Functionality: It’s important to make sure everything works properly. This means you have to check all the parts fit together correctly and that nothing is broken or missing.
- Completing Necessary Upkeep: If you notice any issues during the inspection, take care of them and fix them before reassembling the chair. This could involve tightening screws, replacing damaged parts, or addressing any other problems you find.
Also Read: Dispose of an Office Chair?
FAQs:
How to Remove the Stem of an Office Chair?
Ans: Locate the stem, in the underside of your chair. Use a screwdriver or Allen key to loosen and remove any screws or bolts that are securing the stem. Once the fasteners are removed, you can carefully lift the stem away from the chair base.
How to Remove the Base of an Office Chair?
Ans: Follow the steps to remove the base of an office chair:
- Flip the chair over to access the underside.
- You will see the screws or bolts securing the base to the seat.
- Unscrew them by Using a screwdriver or Allen key.
- If the fasteners are fixed in place, then loosen them by using a hammer.
- Once the fasteners are loose, carefully remove them from their holders.
In this way, You can easily remove the base from your chair without any harm.
How to Remove a lift from an office chair?
Flip the chair upside down to remove the lift from an office chair and Locate the cylinder of the gas lift, which is typically attached to the center of the chair base ( it also depends on your model ). Loosen them with a wrench or pliers and remove the retaining clip or bolt that is securing the gas lift to the chair mechanism.
Once the retaining clip or bolt is removed, firmly grasp the gas lift cylinder and pull it out of the chair mechanism. Be cautious while removing the gas cylinder, so you can complete this process without injury or damage to your chair.
In Conclusion
In offices and at home, sometimes we need to disassemble our chairs, and it may be a difficult task if you don’t have the correct knowledge and tools. This article by Chairwise.net provides you with a proper detailed step-by-step guide, which you can easily disassemble your office chair with the necessary materials and tools by following.