Wooden chairs are a perfect and popular addition to any home, as they add a beautiful touch of warmth and traditional charm. However, as time passes, the joints in wooden chairs can start to loosen and deteriorate due to wear and tear and many more reasons such as:
- Constant use
- Changes in weather and humidity levels
- Poor construction or low-quality materials used
- Lack of maintenance and care

These can result in wobbly chairs, loose legs, and even breakage, which makes you uncomfortable and unsafe to sit on. But this joint problem can be properly repaired at home with glue and some right tools and materials. So in this article, I will guide you through a step-by-step process on how to repair wooden chair joints.
Understanding Different Types of Wooden Chair Joints
Before we start the repairing process, it is important to understand what kind of joints your chair uses, it will help you to identify the problem and through this, you can get an idea of how you have to fix it.
- Dowel Joint: Inspect your chair fully, if you find perfectly rounded pegs and are connecting two pieces of wood, then your chair has a dowel joint.
- Mortise and Tenon Joint: In this type of joint, one piece of wood has a projecting tenon that fits into a hole or mortise in the other piece of wood.
- Dovetail Joint: If the tails of one piece of wood interlock with the pins of the other, creating a strong bond, then it means your chair has Dovetail Joints that are commonly used in the construction of drawer boxes.
- Biscuit Joint: This type of joint involves using an oval-shaped piece of wood, known as a biscuit, to join two pieces together.
After inspecting and understanding, now it is time to fix these wooden chair joints. Well if you have any type, then you can repair that easily. You just need to gather some necessary tools and materials according to your chair joints.
Required Tools and Materials

- Wood glue
- Clamps
- Screws
- Wooden dowels
- Drill and bits
- Sandpaper or a sander
- Wood filler
- Paint or varnish (optional)
As mentioned, there are different types of joints, and because of some materials, you may need some additional tools and materials too. So make sure to have all the necessary tools and materials before starting the repair process.
How to Fix Wooden Chair Joints? Step-by-Step
1. Identify the Problem and Disassemble the Chair
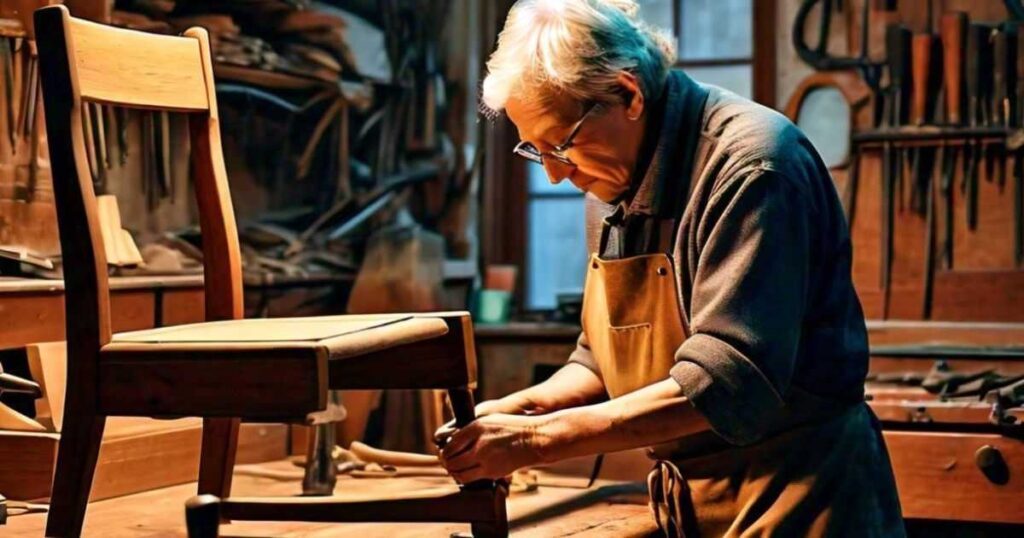
The first step is to identify the problem in your chair joints. Check all the joints and see which one is causing the issue and needs to be repaired. Once you have identified, you will need to disassemble the chair. Take your chair to a well-lit and open space and start removing the screws or pegs connecting the damaged joint using a screwdriver or pliers. If there is any glue, apply heat using a hairdryer to melt the glue and then gently remove the pieces. Be careful while using a hairdryer as overheating can damage the wood.
2. Prepare and Clean Chair Joints
After disassembling the chair, you will need to prepare and clean the joints. Use sandpaper or a sander to remove any old glue, dirt, or debris. Make sure to clean it properly so that all the surfaces are smooth and free from any particles. This will help the new glue to adhere better and strengthen the joint.
3. Apply Wood Glue and Clamp the Joint
Once you have well cleaned the joints, it is time to apply wood glue. Make sure to use good quality waterproof glue so that it will give longer results. I would recommend using Titebond III wood glue which is specially made for outdoor use and is waterproof. So apply a generous amount of glue to both sides of the joint and then join them together.

Use a clamp to hold the joint firmly in place while the glue dries. And make sure to wipe off any excess glue with a damp cloth. Lastly, place your chair in a warm and dry place for at least 4-6 hours, or you can leave it overnight so that the glue can dry completely and strongly.
4. Strengthen the Joint
As an additional step to make your chair stronger, you can also use screws or wooden dowels to reinforce the joint. Through this, your chair will be more secure and stable. If you are using screws, make sure to pre-drill the holes so that the wood doesn’t split.
For wooden dowels, use a drill bit of the same diameter as the dowel and drill into both pieces at least 1 inch deep. Apply glue inside the holes and then insert the dowel, and let it dry completely before cutting off any excess.
5. Sand and Finish the Repair
Once the glue is completely dry, you can carefully remove the clamps and check if your chair is stable enough to use. If yes, then you can now sand down any rough edges or surfaces using sandpaper or a sander. But if your chair is not stable, then you might have to repeat the process and the important thing is to let it dry for a long period. After sanding, If you see any cracks or gaps, you can use wood filler to fill them in and let it dry before sanding again.
After each step is done, you can paint or varnish your chair as you want, it is not necessary but will make your chair look more attractive and protect it from future damage.
Tips and Routine to Maintain Your Wooden Chair
Once you have learned the process and fixed the loose wooden chair joints, It is important to maintain and keep your chair in good condition. I have listed some care routines and easy tips to follow:

- Regularly check and tighten the screws or pegs to avoid any loose joints.
- Wipe down your chair with a damp cloth or wood cleaner whenever you see dirt or dust accumulated.
- Some people like to sit in direct sunlight or leave their chairs in the rain, remember these can damage the wood of your chair. So keep away from these harsh conditions.
- Keep your chair indoors during harsh weather conditions to prevent warping or cracking.
- Apply a coat of varnish or paint every few years to protect the wood and keep it looking new.
- Wooden or any type of chair can be damaged with too much weight, so try to limit the weight or pressure on your chair.
Also Read: How to Repair Patio Chair Webbing?
FAQs
What is the best wood glue for chair joints?
Ans: As I mentioned, Titebond III wood glue is a great option for repairing chair joints. It is waterproof and specially designed for outdoor use, making it strong and durable for indoor use as well. You can also use other popular like Gorilla Wood Glue and Elmer’s Carpenter’s Wood Glue. Ultimately, the best wood glue for your chair joints will depend on your specific needs and preferences.
Can I use super glue on wood?
Ans: While super glue can be effective in certain situations, it is not recommended for repairing wooden chair joints. Super glue dries too quickly and forms a brittle bond, which may not be strong enough to hold the weight and pressure of a chair. It also does not have the flexibility needed for wood that expands and contracts with changes in temperature and humidity. Therefore, it is best to use a wood glue specifically designed for repairing furniture like wicker. So, it is better to avoid using super glue on wood and stick to proper wood glue for stronger and long-lasting results.
How long does it take for wood glue to dry?
Ans: The drying time for wood glue can vary depending on the type and brand of glue, as well as factors like temperature and humidity. Generally, it is best to leave the glued joint clamped for 4-6 hours or overnight to ensure it is completely dry before removing the clamps.
In Conclusion
In conclusion, you have learned in this article how to repair wooden chair joints properly. Well, it is a simple and easy process you can do at home with the right glue and some tools. By following these simple steps, you can extend the life of your wooden chairs and keep them sturdy and safe for years to come.
Remember to follow the steps carefully and take care of your wooden chair regularly according to the tips and caring routine. Through this, you can make your chair usable for the years to come.


